Stack, clip, done!
How stocubo works
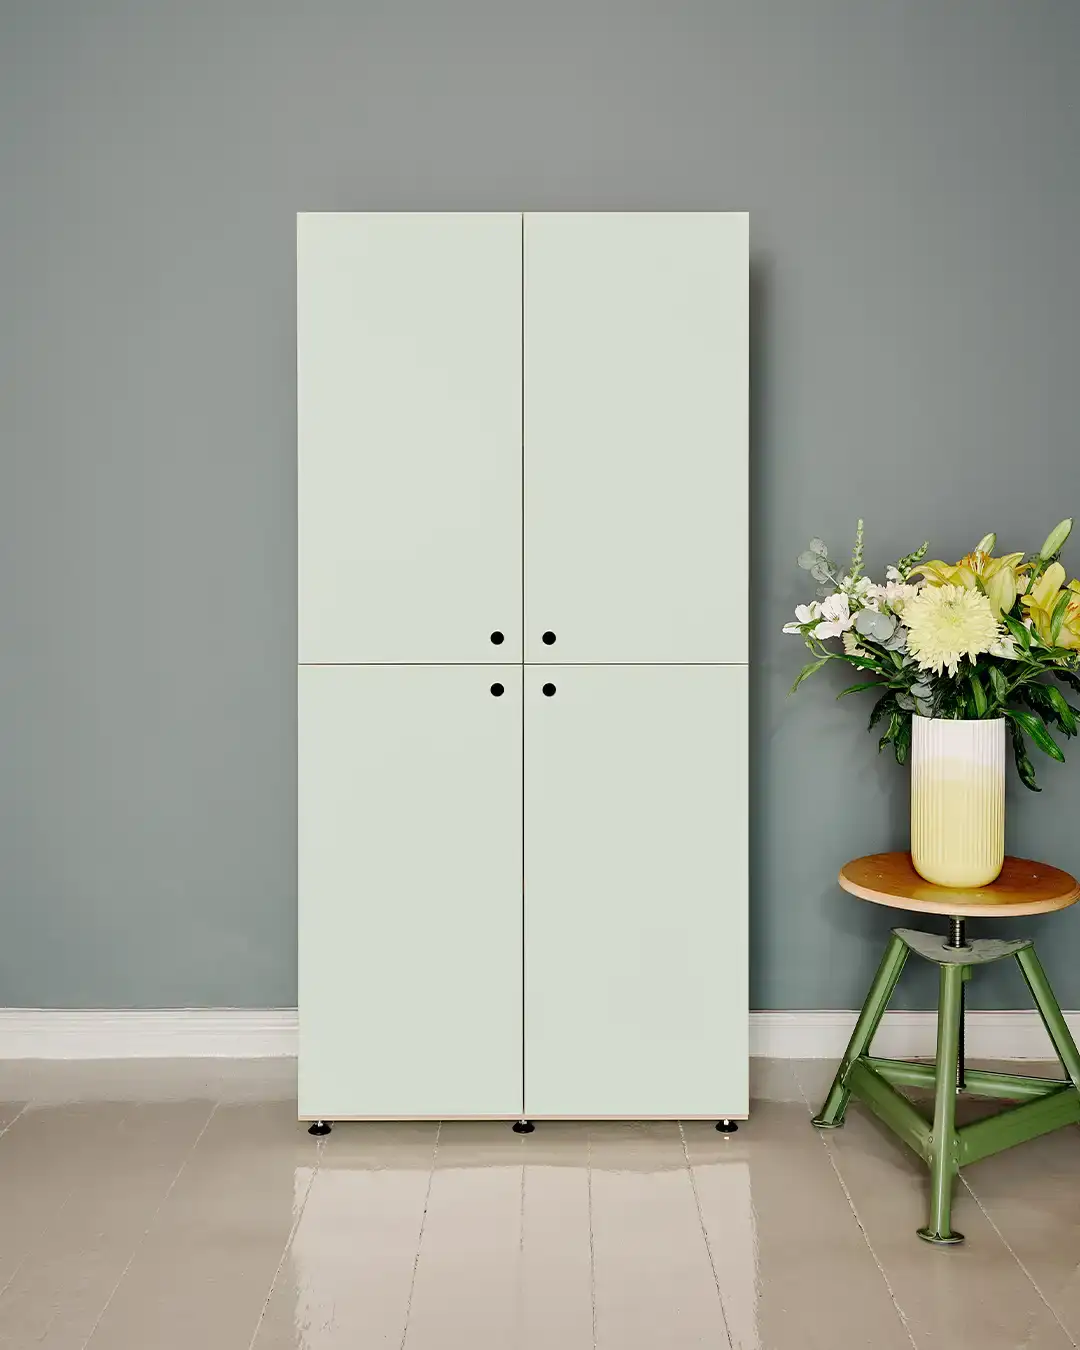
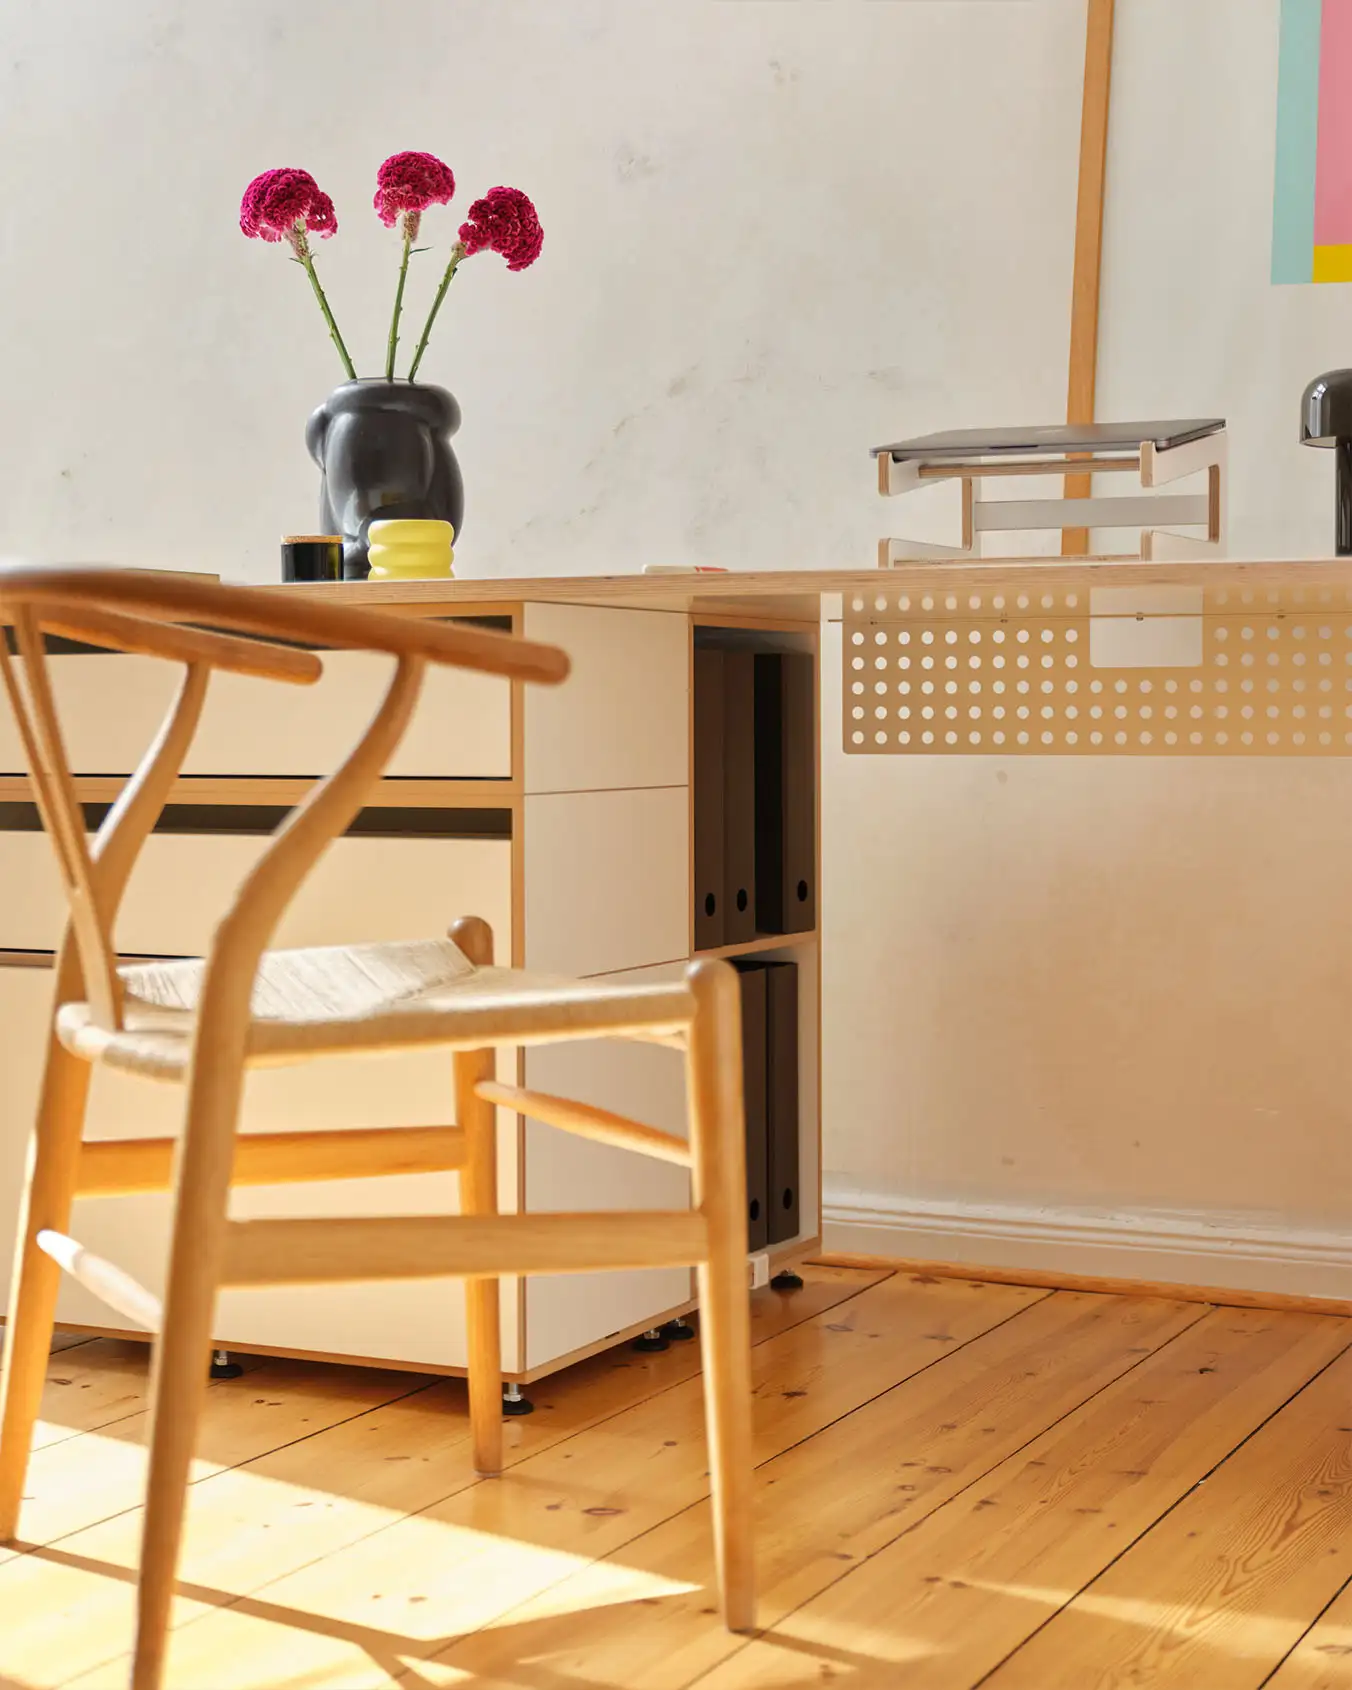
Building a shelf can be really fun! Don't believe it? Then you probably haven't assembled a stocubo shelf yet. Where "building" is almost an exaggeration: our cubes arrive at your door ready to use. They can be simply stacked next to and on top of each other and attached together with the clips.
Individual modules can also be attached to the wall. stocubo therefore functions completely without needing to be assembled and, aside from the hanging shelves, no tools are required. Only when aligning the base plates, we recommend using a spirit level and the supplied Allen key.
stocubo connection clips
The different clips connect individual shelf modules to each other — very easily and without any tools. The clips can be attached to the front and back. We recommend you to use two connecting clips per cube.

Base plate clip
A special clip for easy and safe connection of different base plates with each other. It is made of aluminum, which, unlike the aluminum clips, is not coated on the inside and is automatically sent with every base plate.
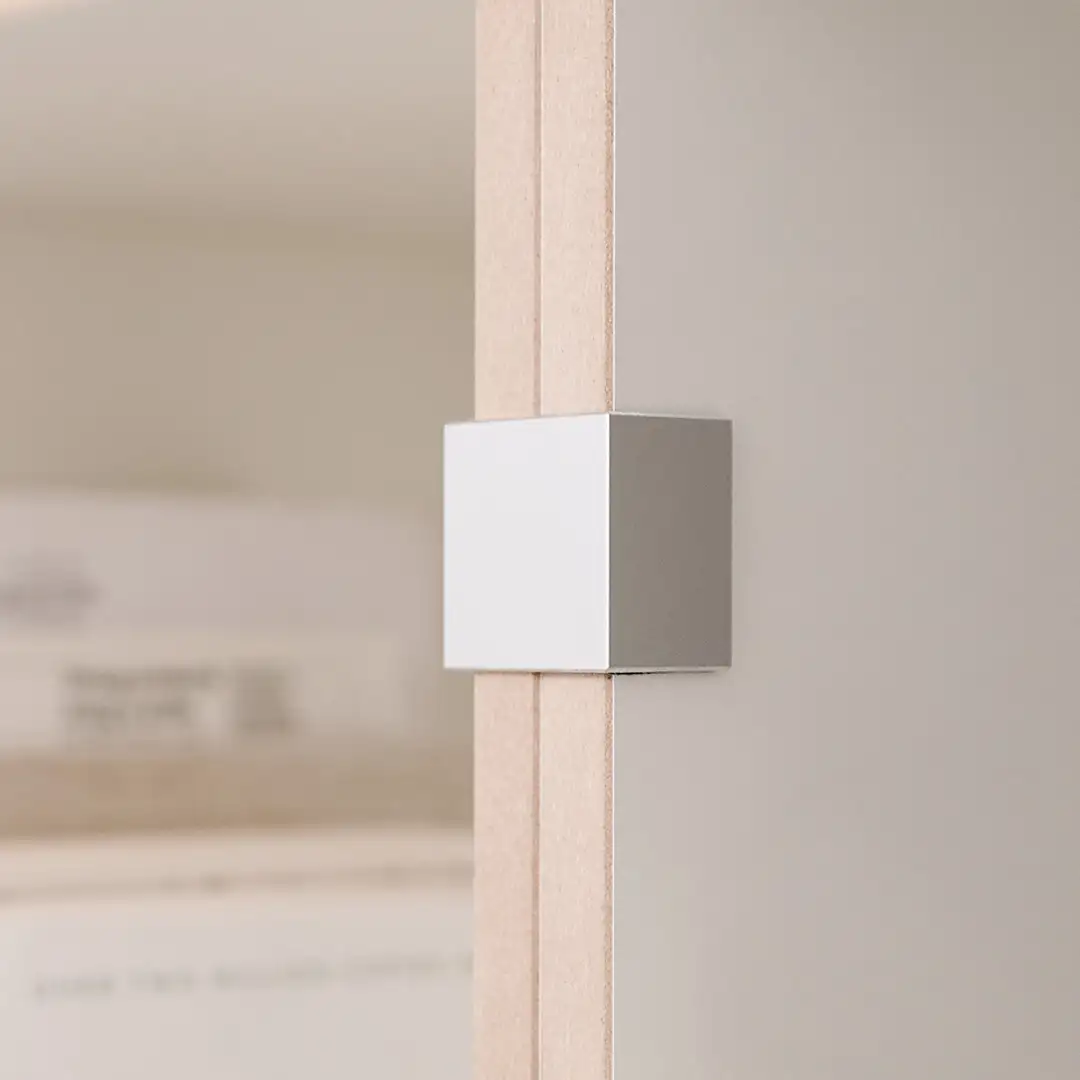
Aluminum clip
An elegant, simple aluminum clip that holds two modules together, combining function and aesthetics. It has a felt coating on the inside and is also suitable for use under doors or slide-ins and drawers.

Plastic clip
The flexible material of the plastic clip keeps a firm grip on the cubes and is particularly suitable for rear attachment, where it provides extra stability.
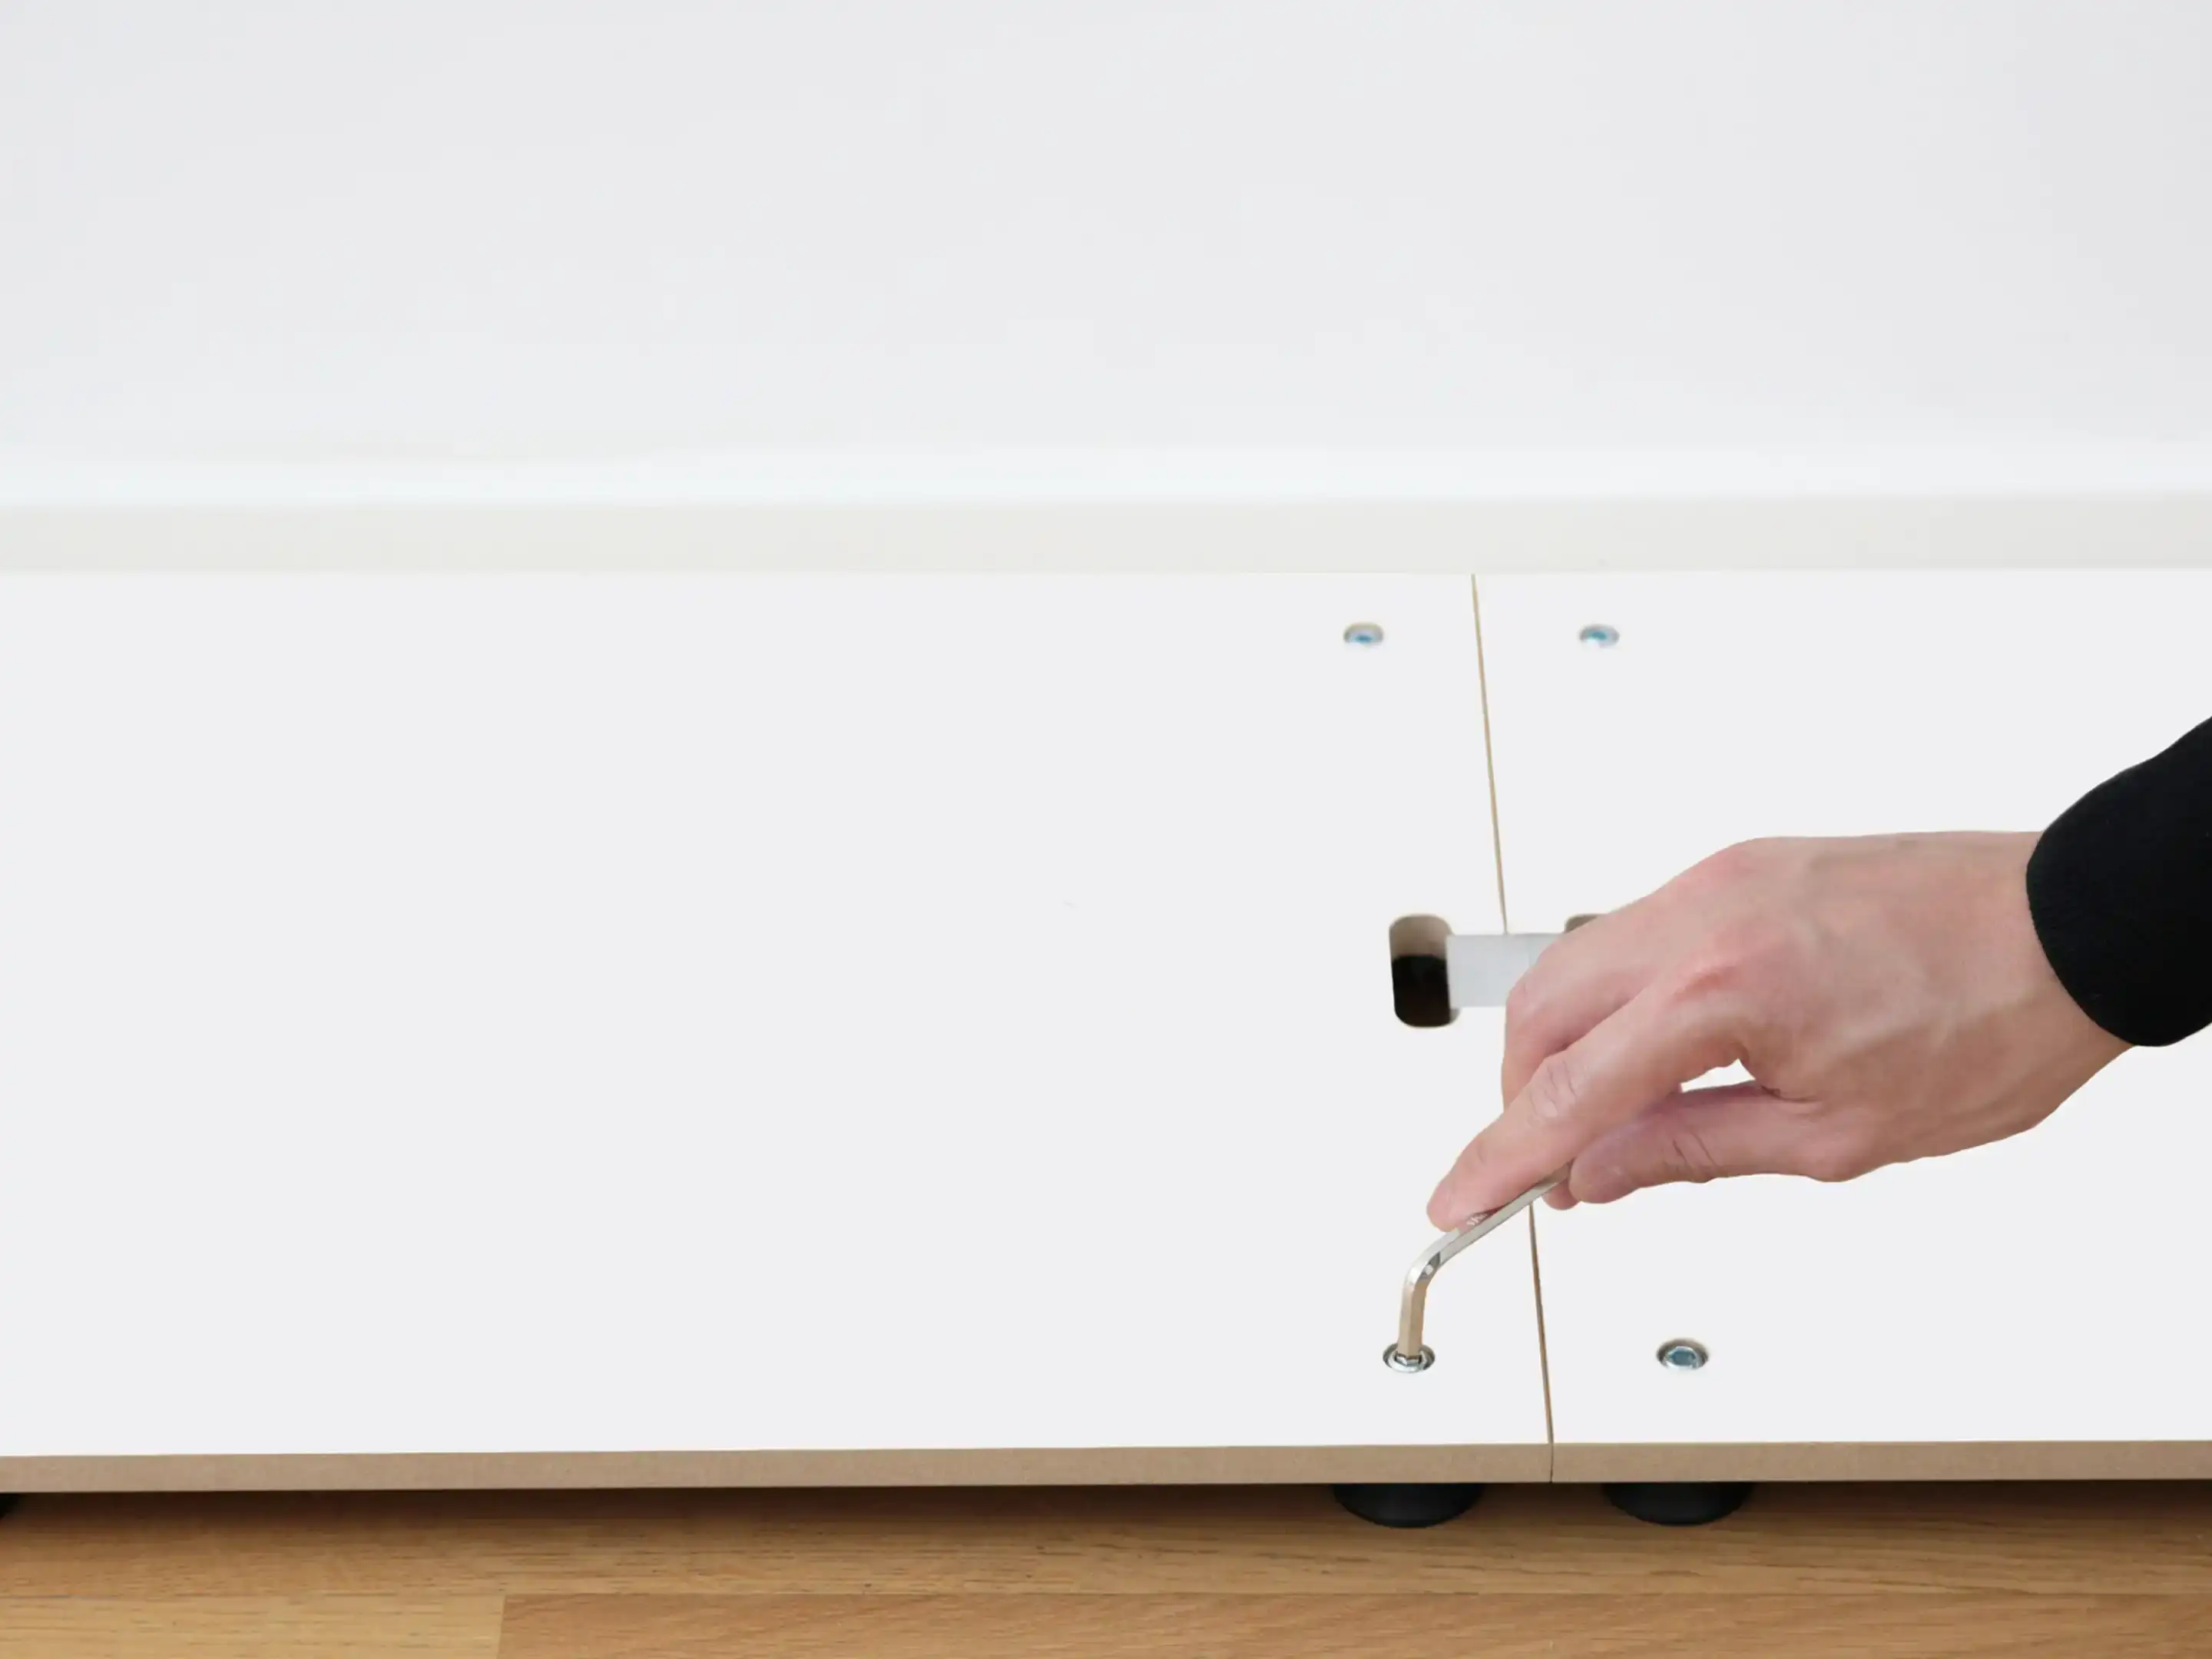
Step 1
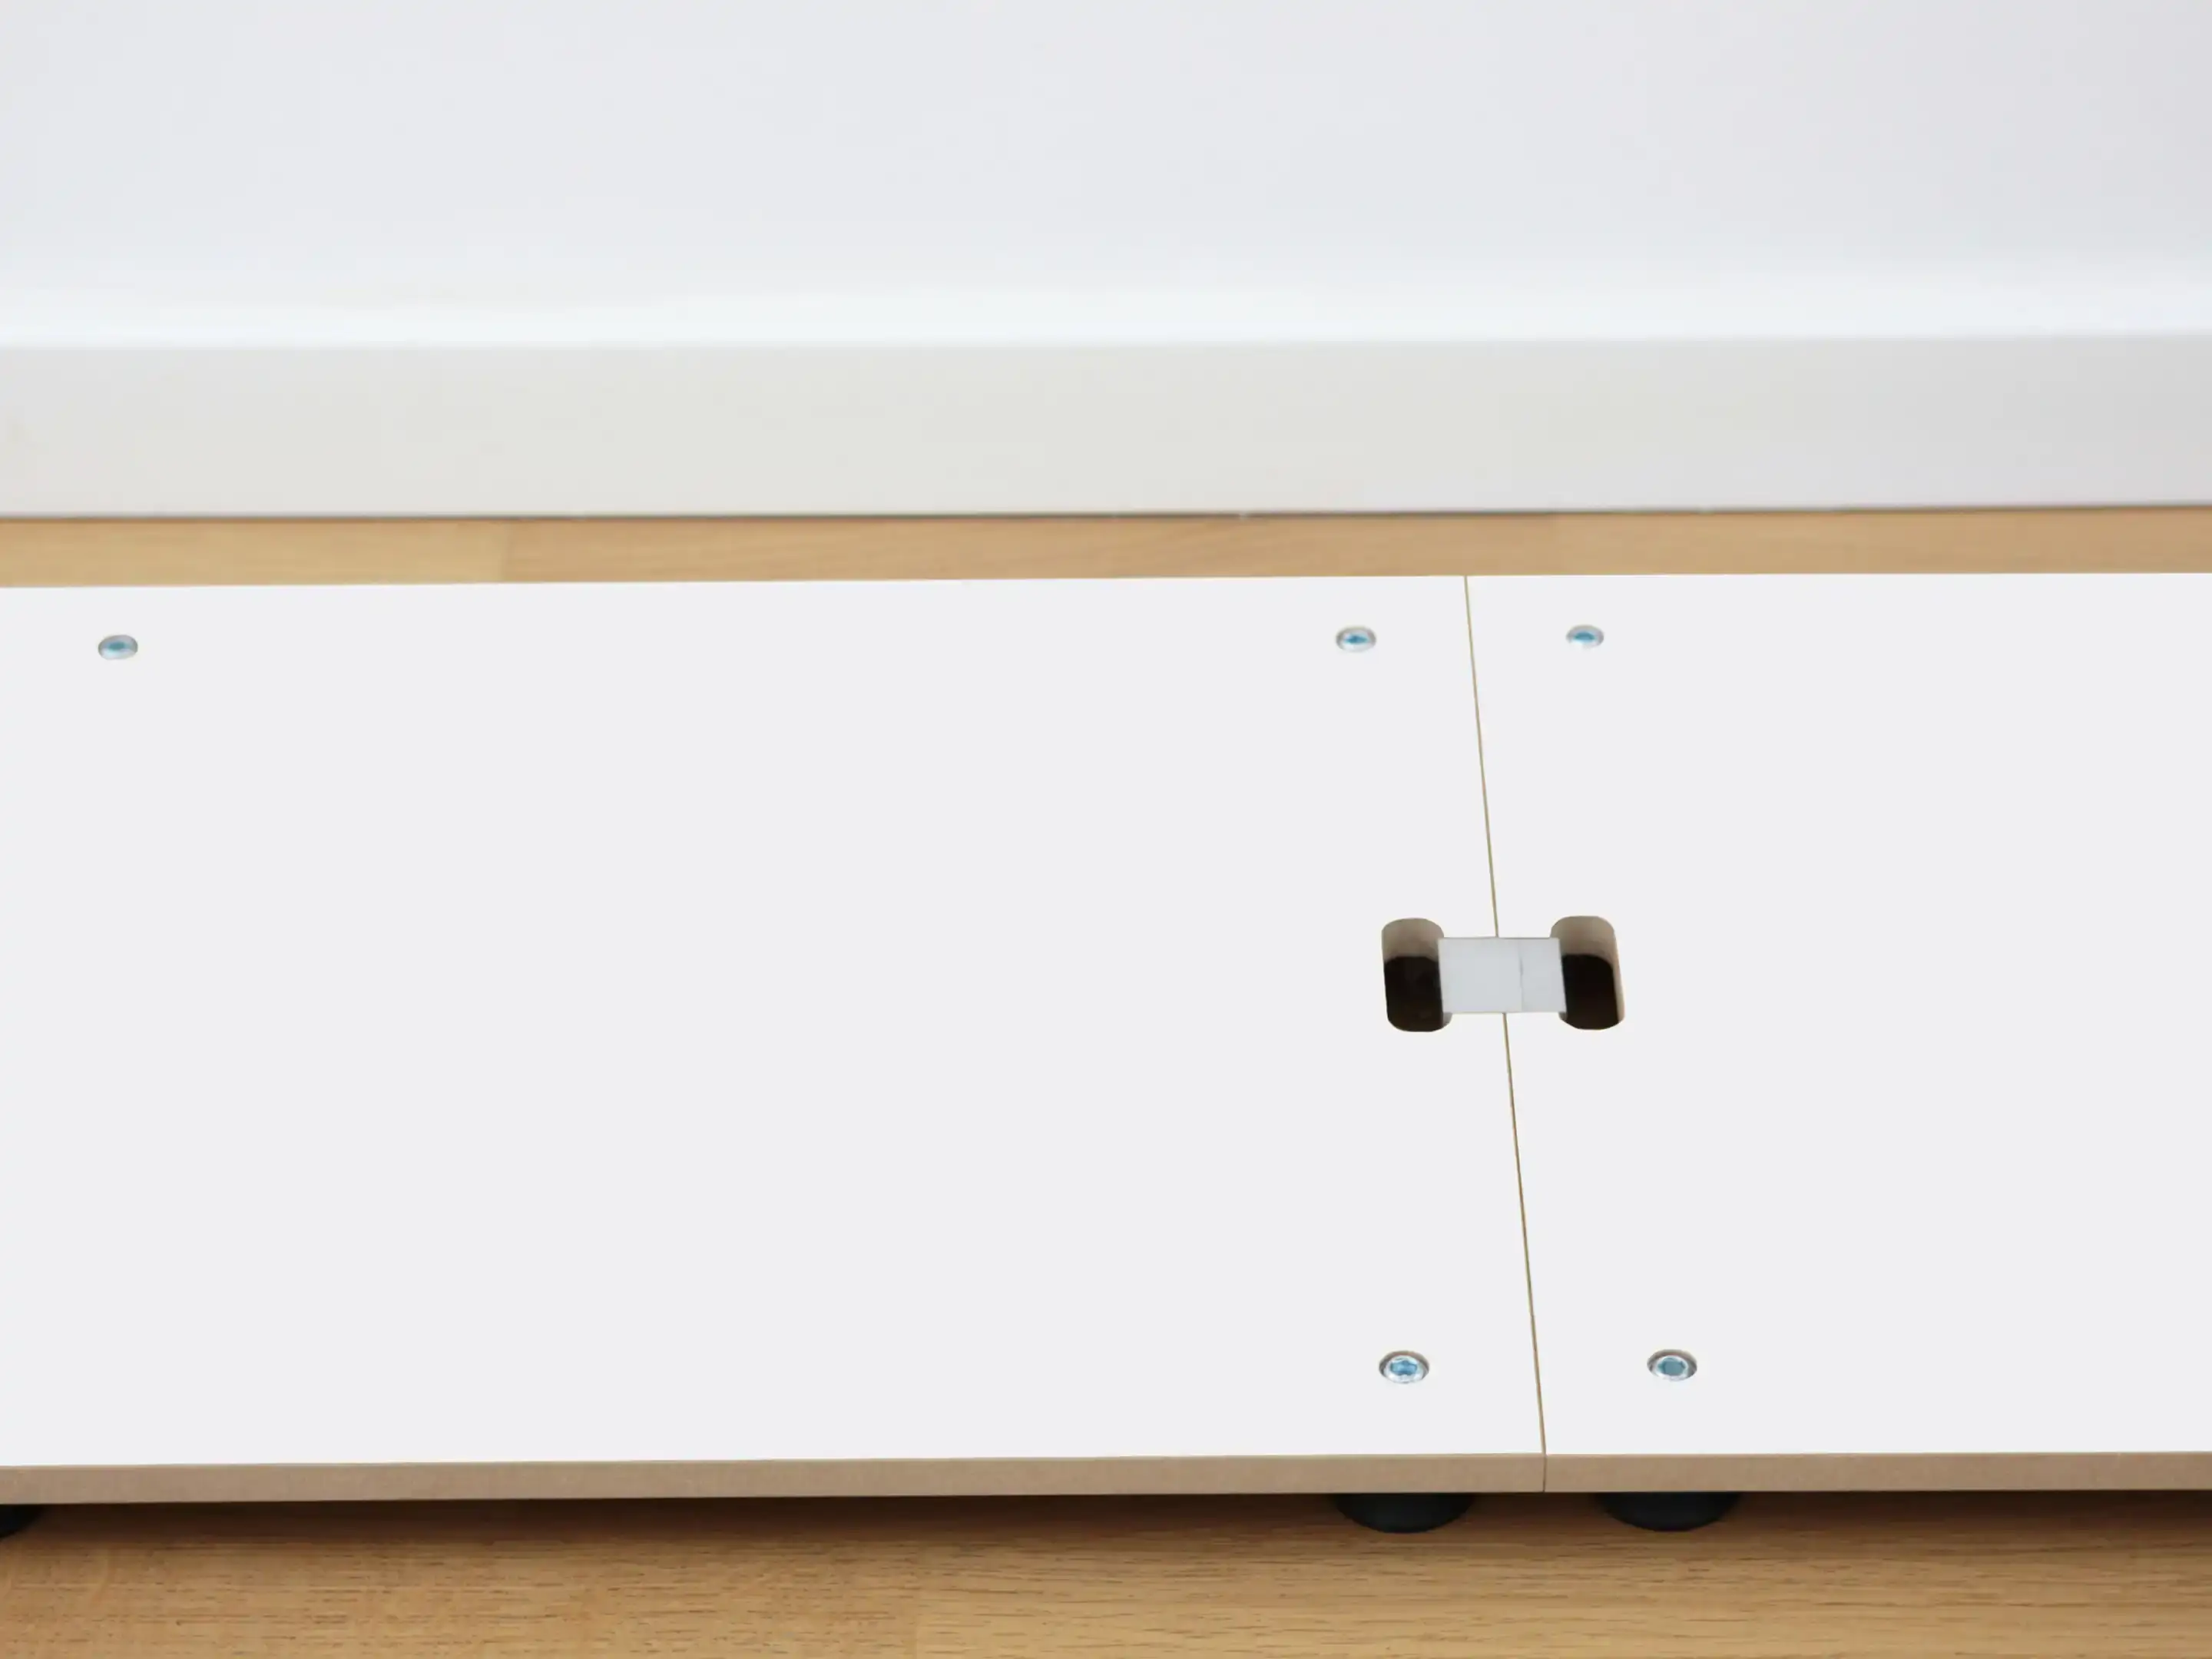
Adjust the base plate using a spirit level and Allen key.
Place the base plates next to each other where the shelf is to stand and connect them with the base plate clips. Now align the base plates straight using a spirit level. To do this, adjust the feet with the Allen key so that all base plates form an even surface.
Step 2
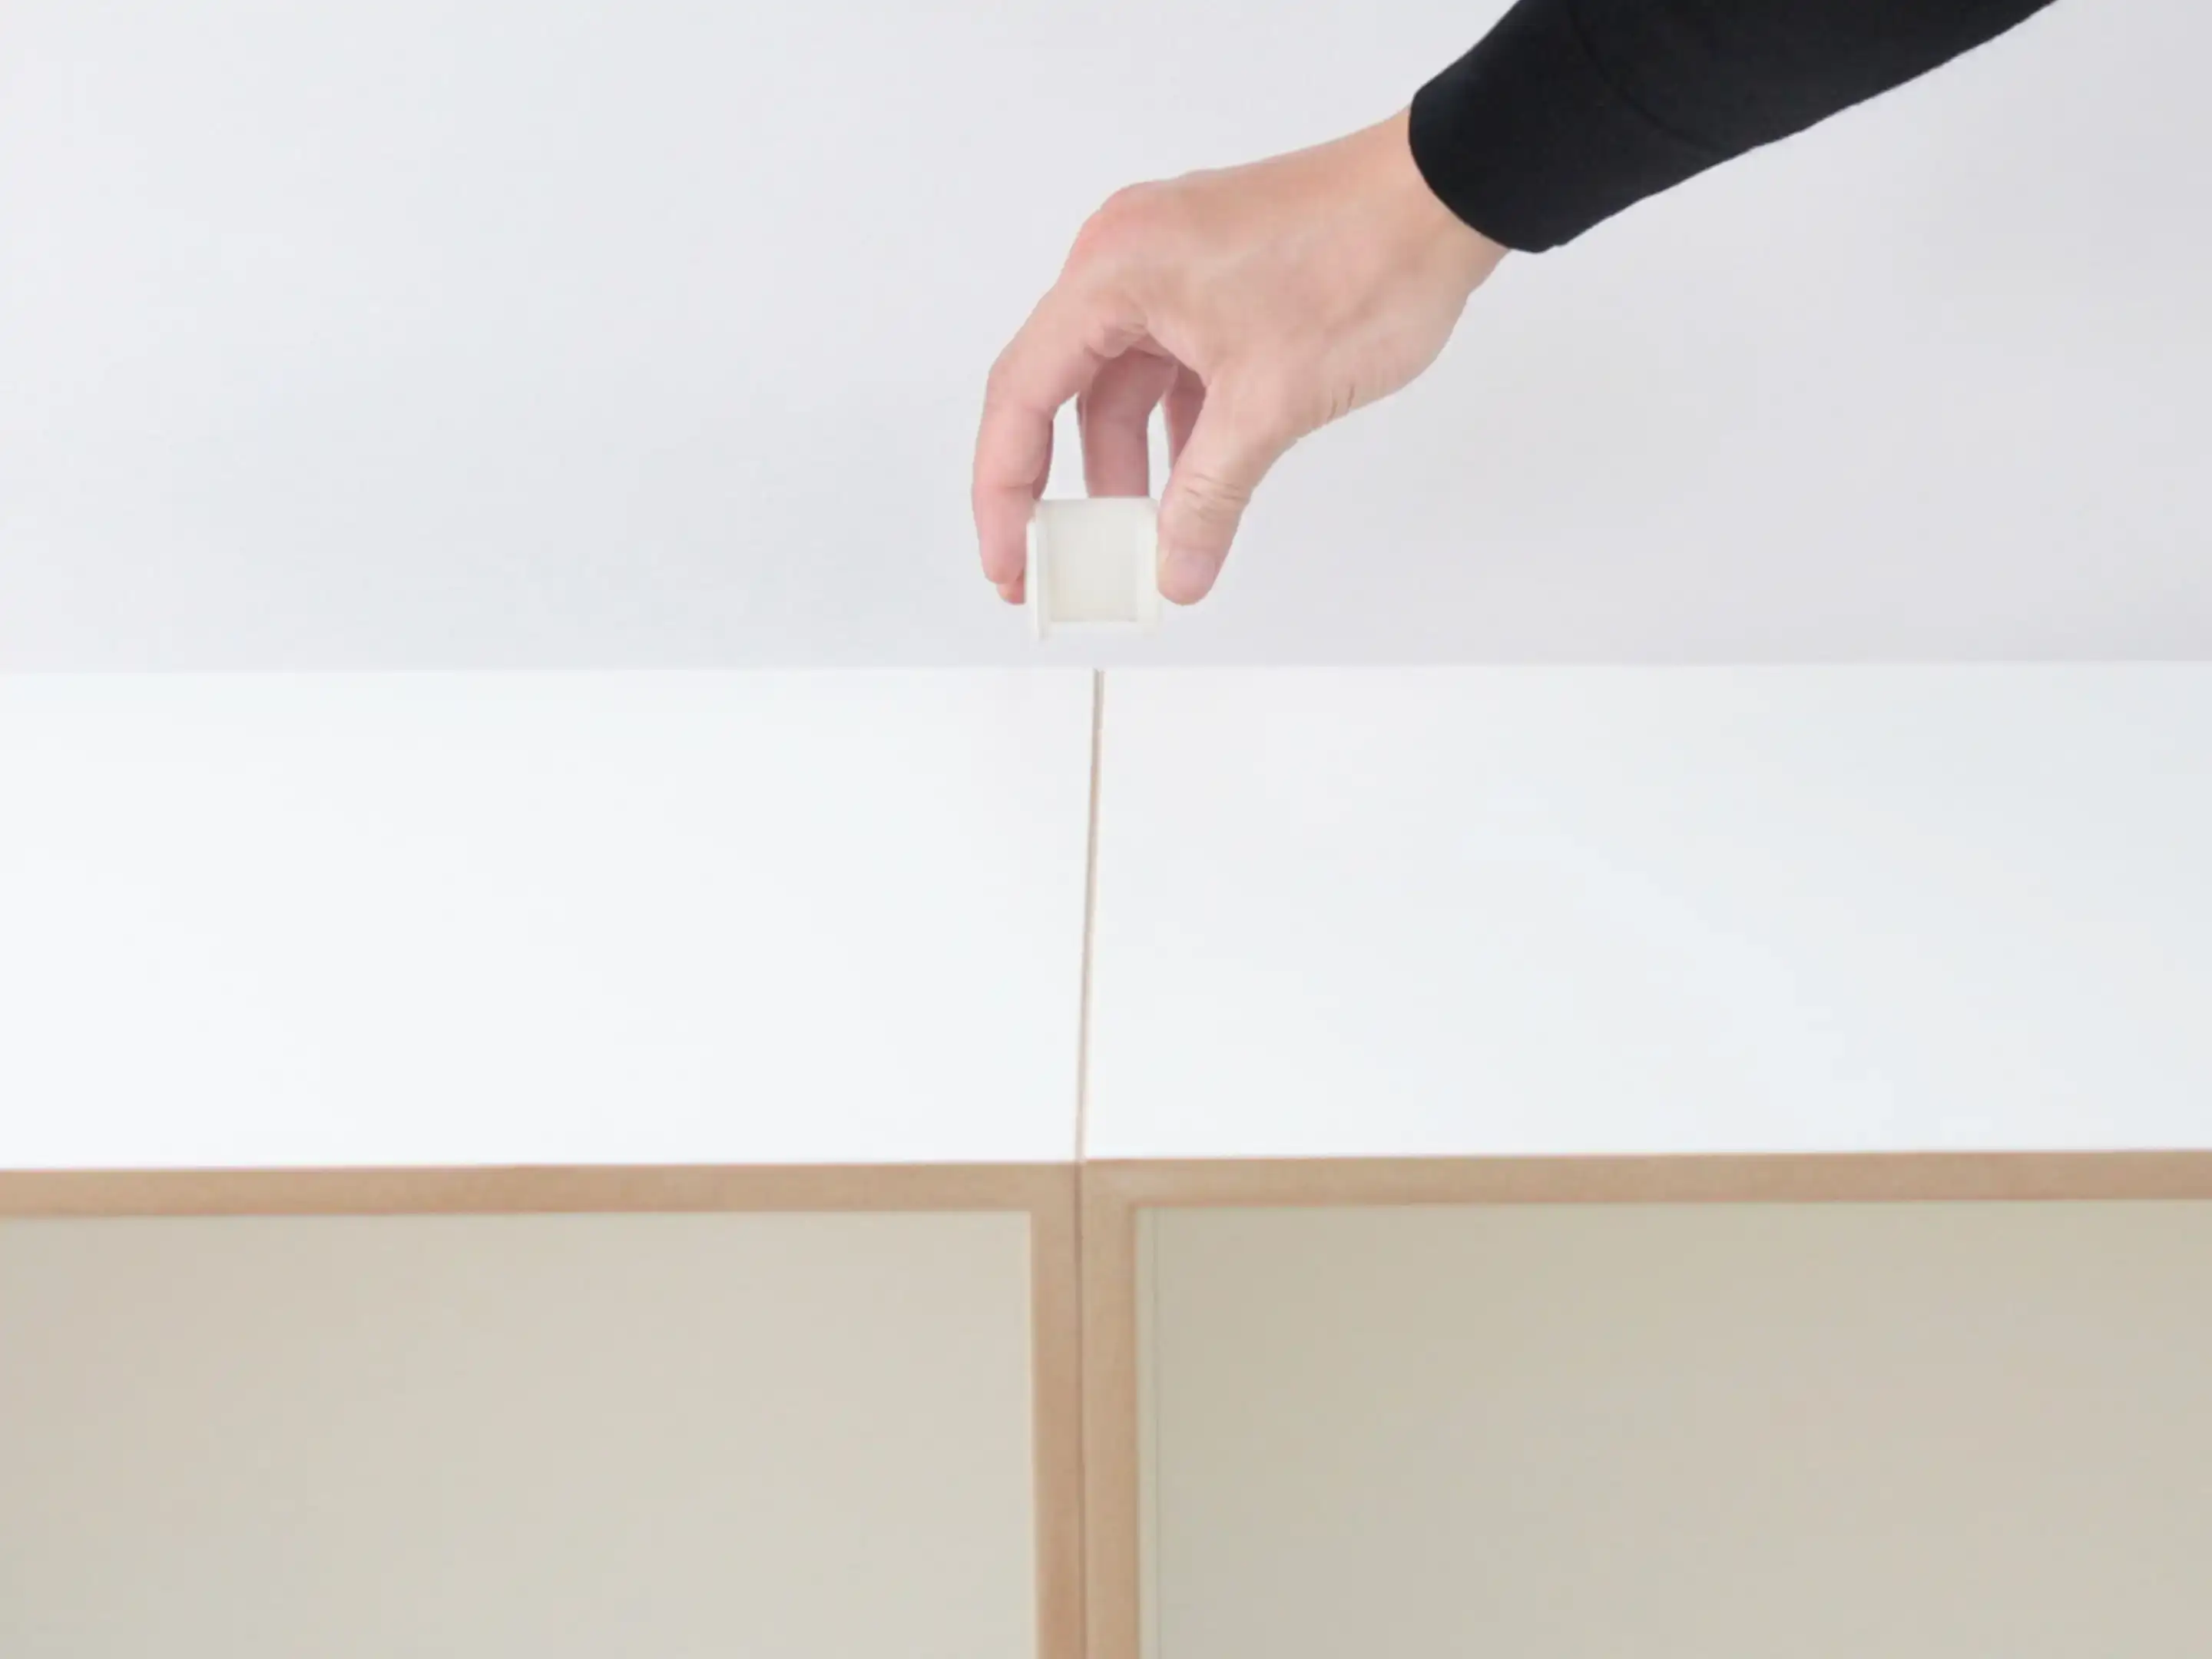
Move the base plate 10 cm from the wall
If the shelf is to be clipped from the back, pull the base plates slightly forward to allow the clips to attach well to the back wall. If the clips are to be attached only at the front, this step is not needed.
Step 3
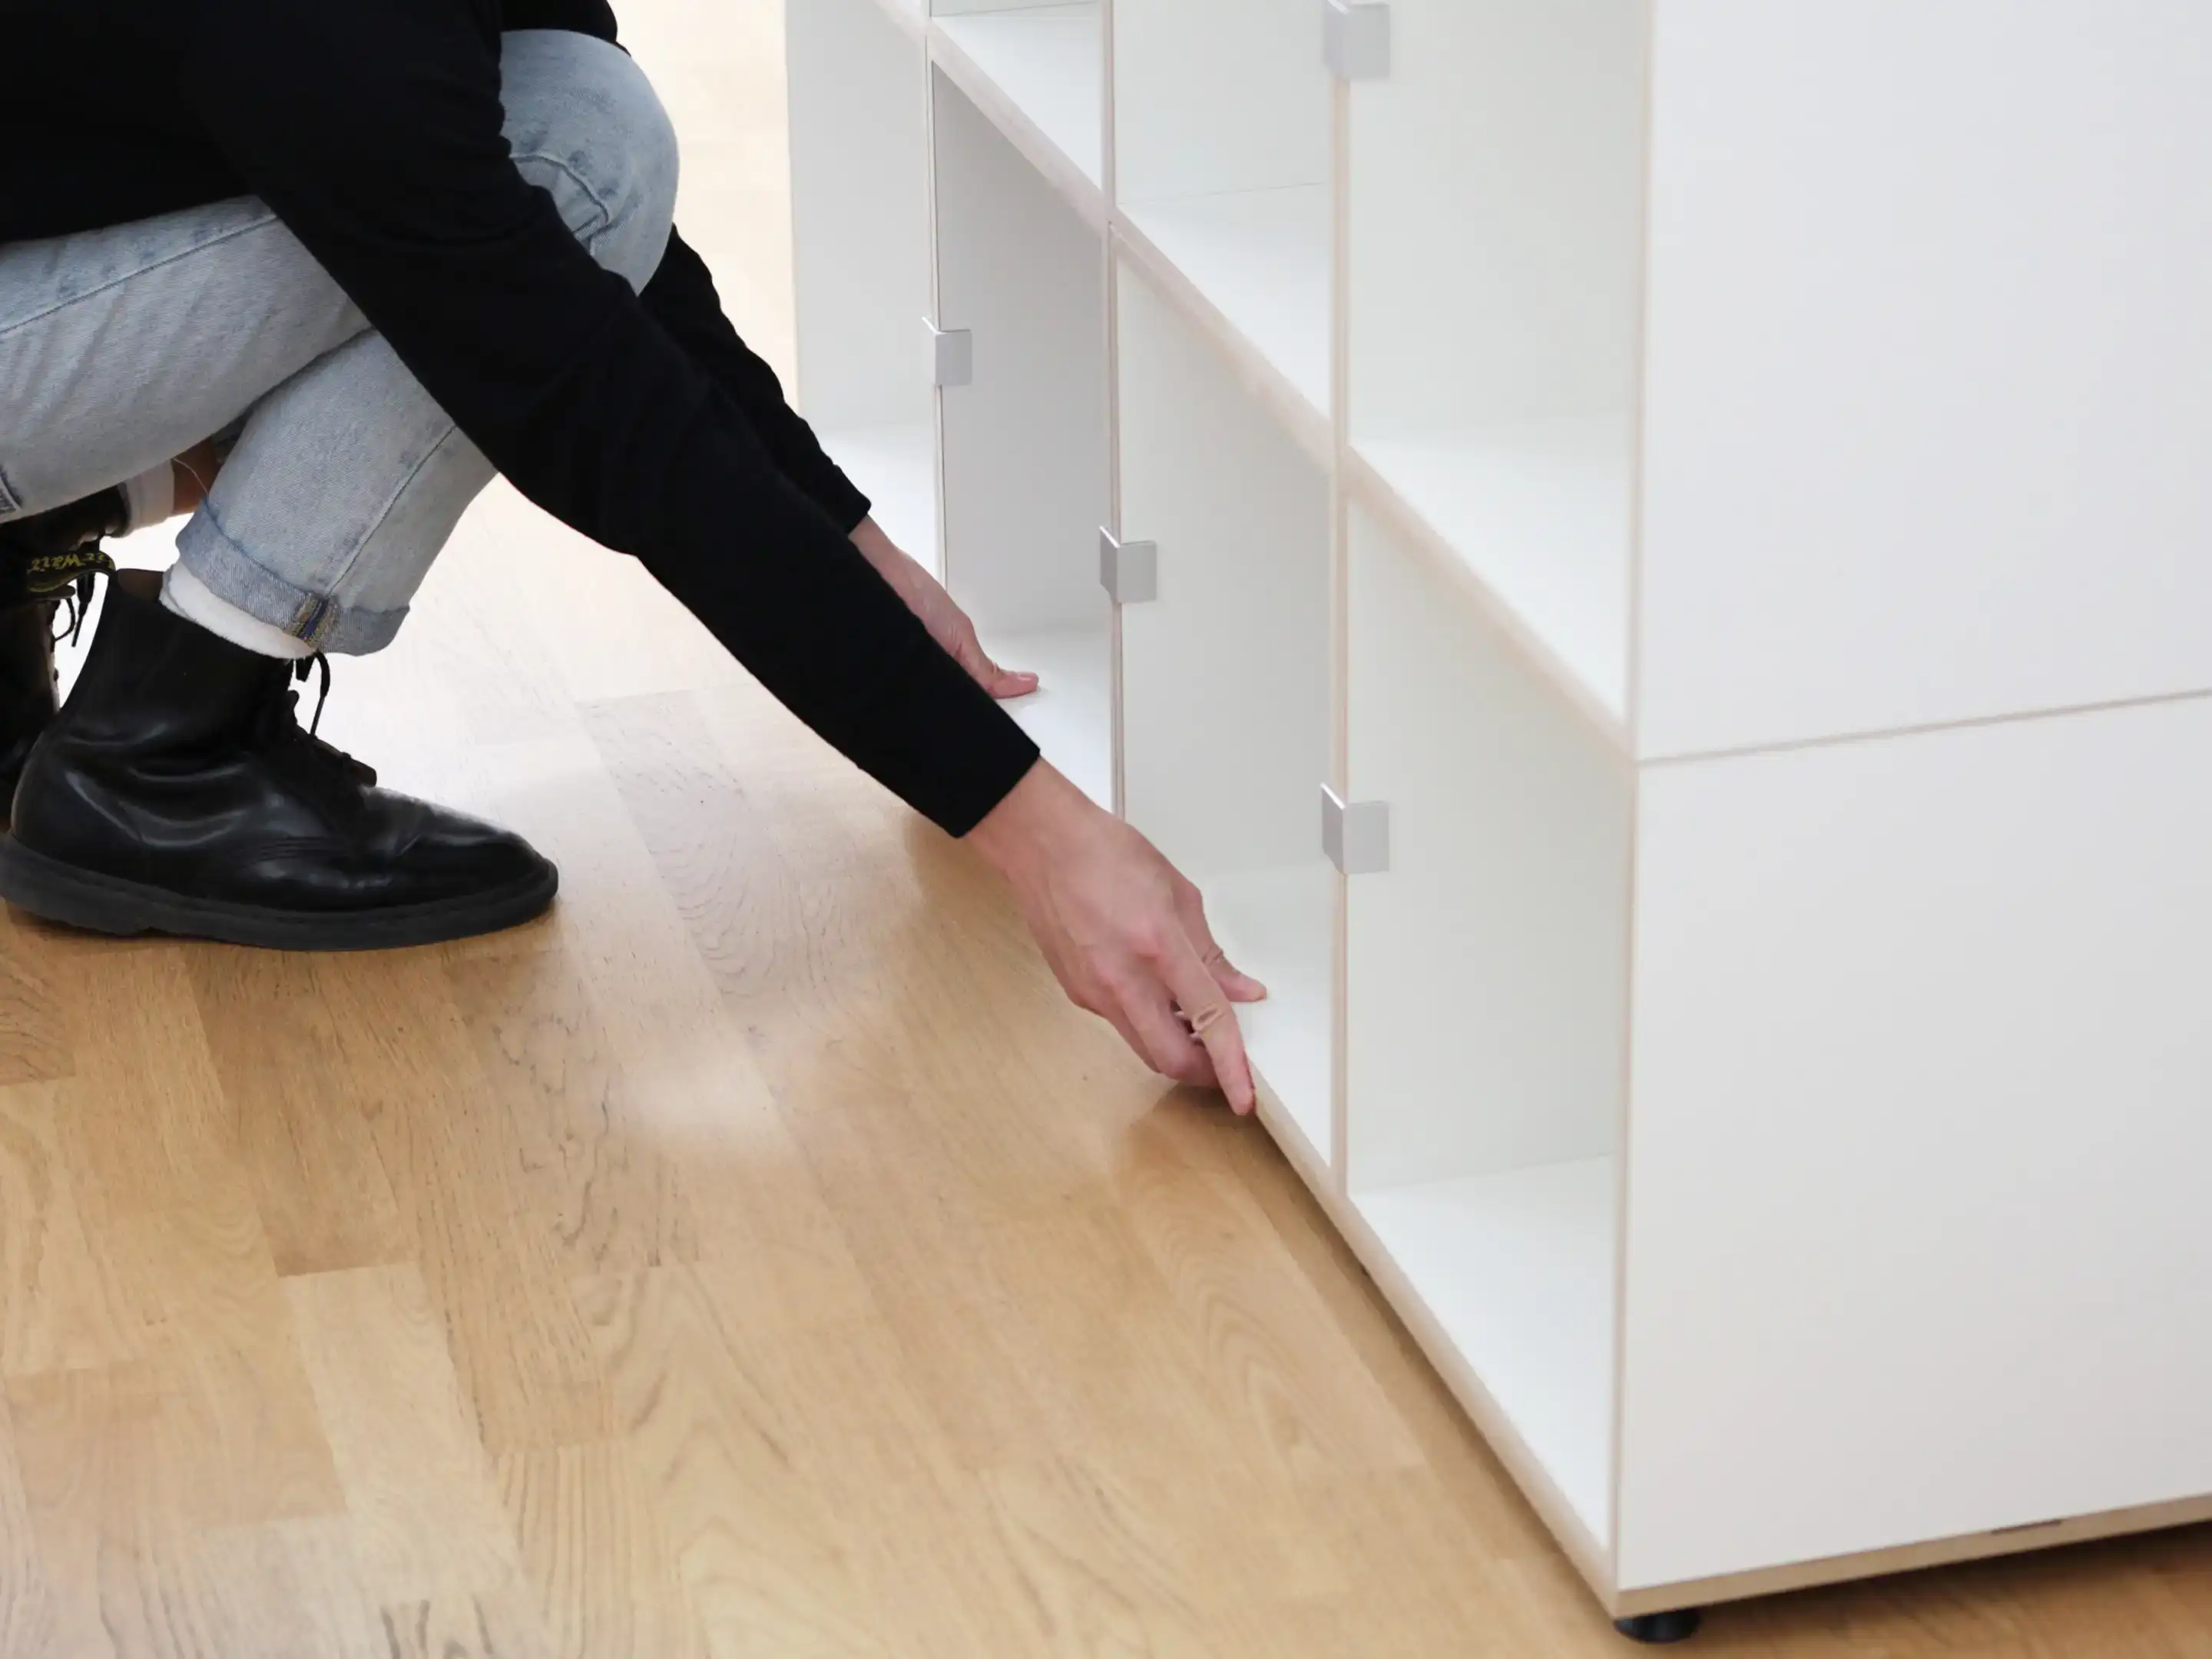
Stacking and clipping cubes row by row
Start with the bottom row of cubes and secure each with a clip on the base plate and a clip on the next cube. Then stack cubes row by row and clip from all sides. Depending on the floor, attach additional clips at the front or back if necessary.
Step 4
Push the finished shelf back onto the wall
To do this, start at the base plates if possible and carefully push the shelf back against the wall. For larger shelves, it is best to work in pairs.
Timeless features

Wall Shelf
All modules can also be ordered with wall mounts.
Of course, you can also order the wall brackets separately at a later time or remove the rails later if you wish to use the modules differently.
Please refer to our guidelines regarding the load capacity of the modules when mounted on the wall.
→ Mounting on the wall

Light cubes
The LED rails are already installed by us on the upper inside of the cube. To make the modules light up, an LED kit is required. Power is supplied via the power adapter included in the LED kit. Up to six illuminated cubes can be connected to the distributor and controlled together.
→ Install LED lighting
Installing Doors
Open sesame, and close gently! With the innovative soft-close doors for our modular shelving cubes, we know we're fulfilling the wishes of many customers. We promise the doors will close gently, with no banging and noise. This also minimizes the risk of injury from trapped fingers.
Modules with doors are supplied already fully assembled, but you can also order the doors separately and assemble them yourself.
Instructions for our special products
Care note
Cleaning surfaces
The white cubes are very resistant due to their melamine resin coating and can be easily cleaned with a damp cloth or glass cleaner.
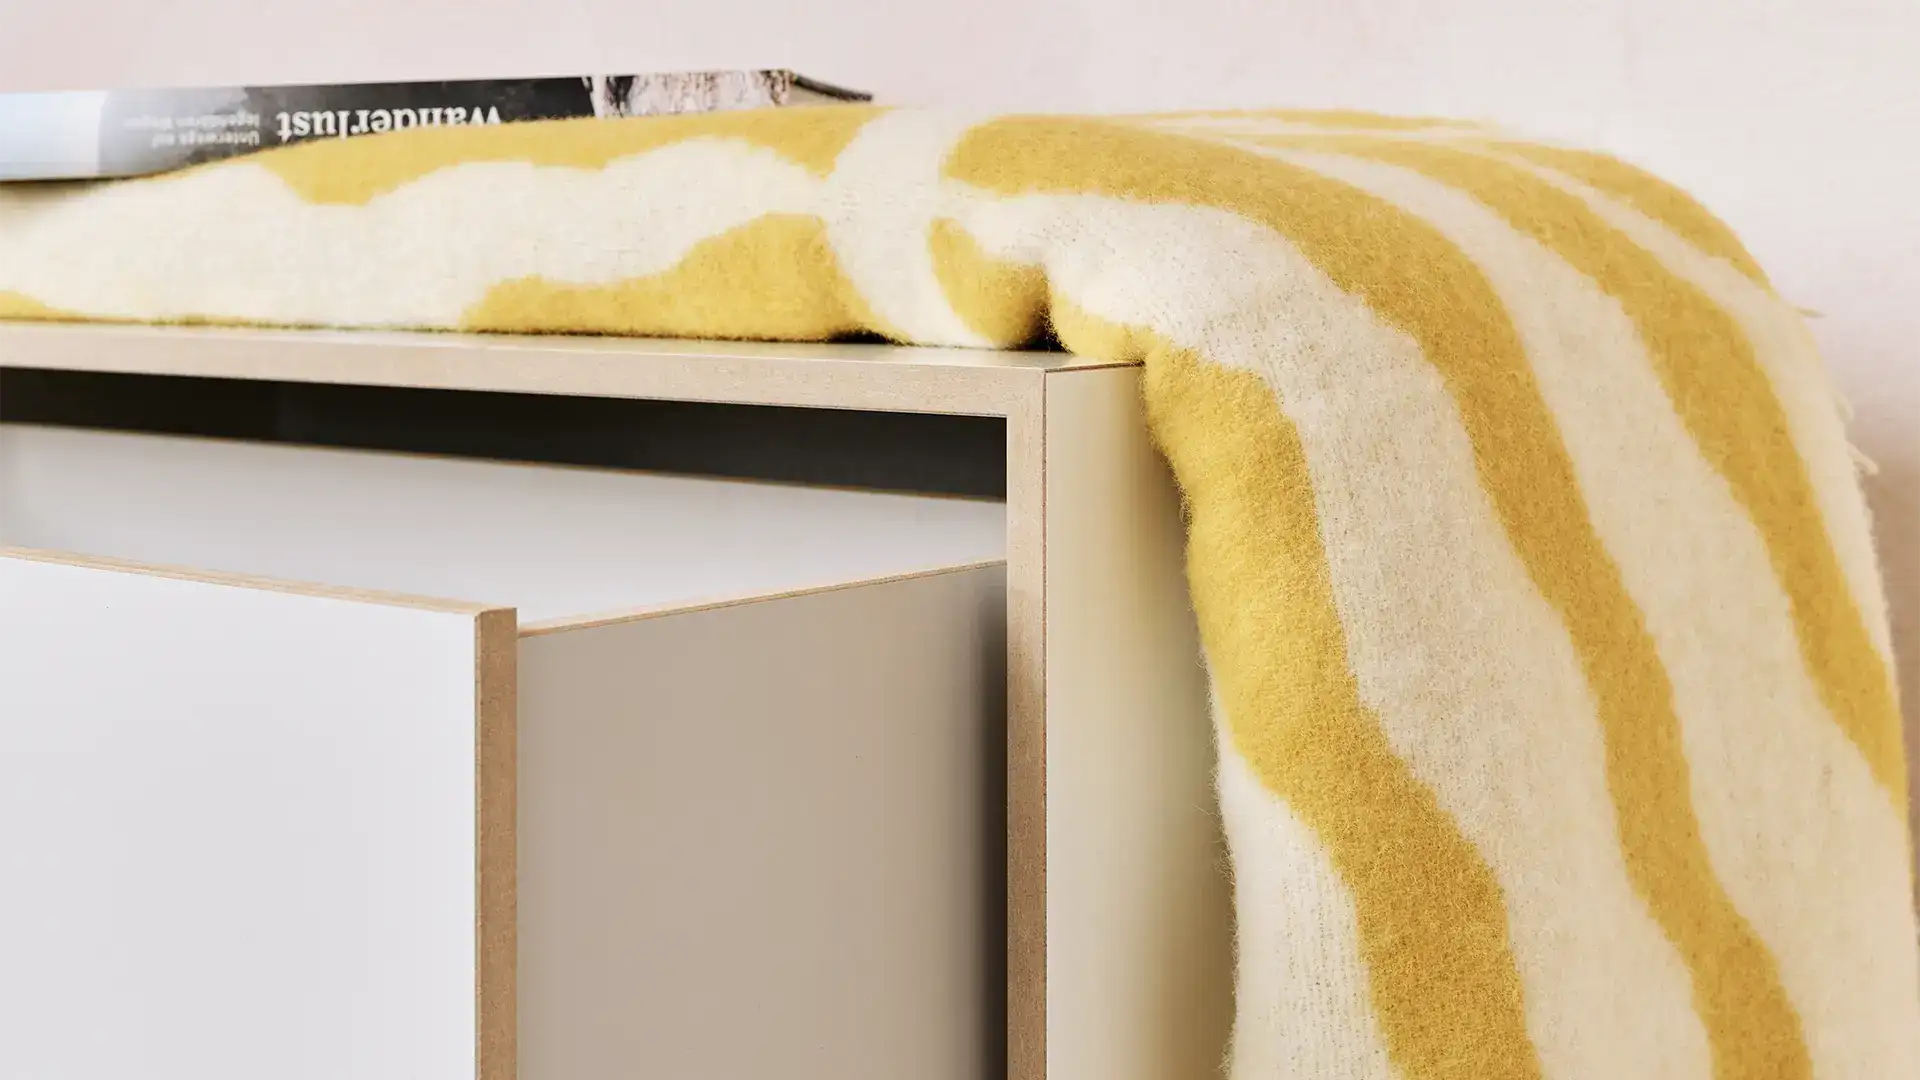
Clean edges
If the edges get dirty, they can be gently rubbed with sandpaper to clean them, if necessary.
Cleaning surfaces
The white cubes are very resistant due to their melamine resin coating and can be easily cleaned with a damp cloth or glass cleaner.
Clean edges
If the edges get dirty, they can be gently rubbed with sandpaper to clean them, if necessary.
Secure up to 300 euros voucher now!
Send us some high-resolution photos of your new stocubo shelf by service@stocubo.de.
Write in two or three sentences how your personal experience with stocubo is.
Look forward to a 25 Euro voucher for your next purchase — and with a little luck win a 300 Euro voucher at the next raffle!
By submitting, you agree to an anonymous publication of the pictures on our website and in our social networks.

@haus_m _am _waldhang
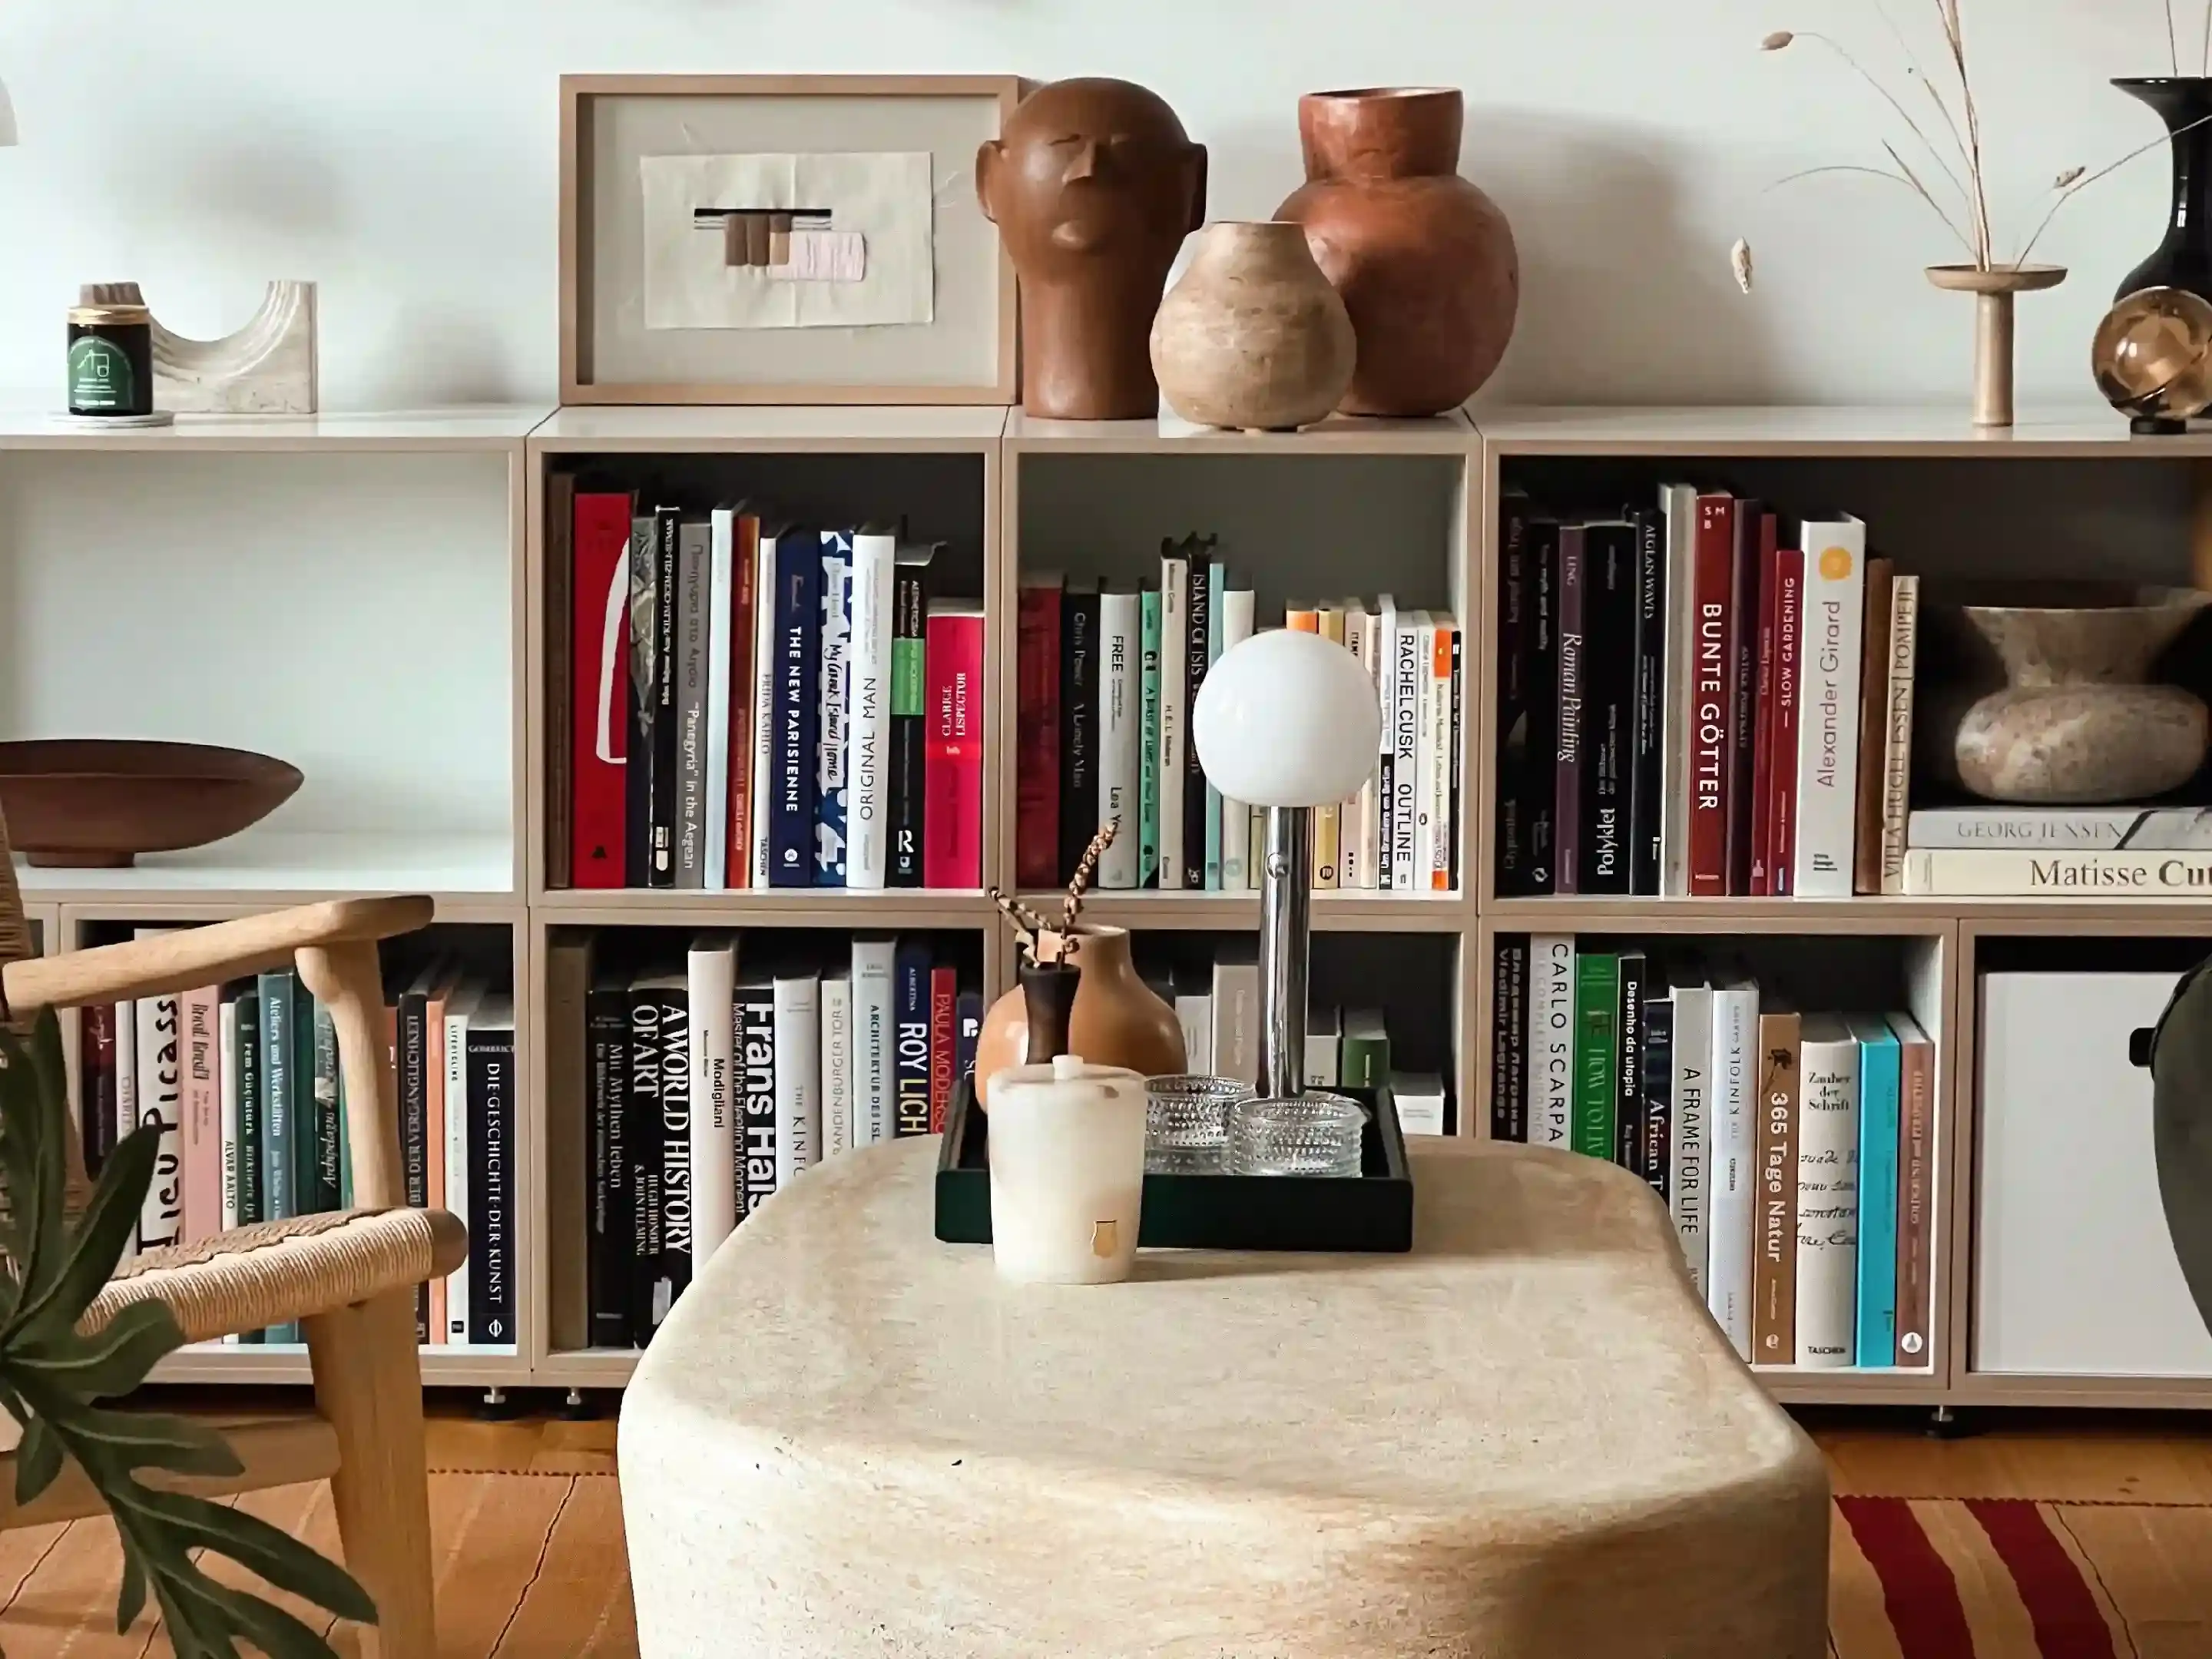
@igorjosif

@doublekoek

@maisonbynina

@berlin72qm
You can reach our customer service at 📞 +49 (0)30 232 56 01 80 or ✉️ info@stocubo.de


